They should:
1. look like they belong with the new birch bulkheads and beech counters
2. remain in keeping with the aluminum extrusion construction of the early 70's Airstreams
3. be easy to open and easy to latch
4. stay securely shut while en route.
Simple, right?
No such luck. Plywoods turned out all to be too thick. Veneer would fit, but wasn't sturdy enough. Rebuilding each door from thicker plywood would mean a complete redesign of the door latches. All the laminate samples we taped in place on the closet doors seemed too light, too dark, too plasticky or too loud. We considered faux paint finishes and investigated interesting stencil designs.
We let it be and camped in it for the spring, summer and fall before revisiting the issue.
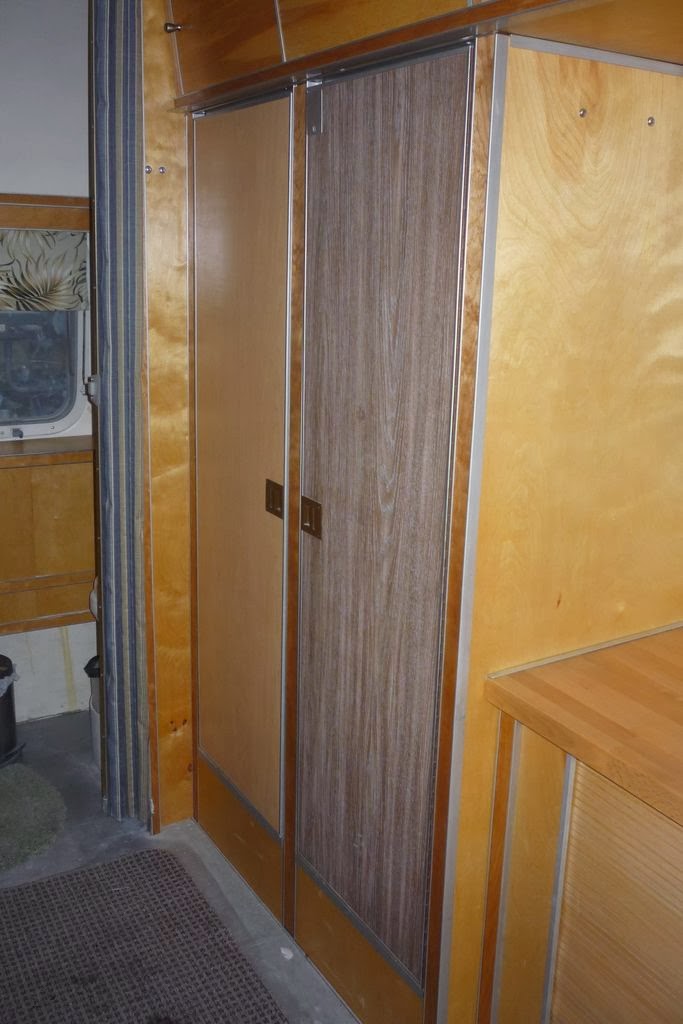
Laminate won. We found a wood grain (Formica Warm Maple) that didn't crash egregiously with the real wood. It doesn't have the warmth, depth and radiance of real wood. But the ease of installation, ability to use all the original aluminum and latches, and a combined material cost of under $60 for two closet doors and a pantry door sealed the deal.
The door hinge was removed from the closet by drilling out the rivets with a 1/8" drill bit.
 |
I started by removing the four screws that hold in the door latch, but I don't think the order matters.
 |
One advantage of reskinning only the outside of the door is that we don't have to mess with removing the inside slider latch. This is riveted in place and the removal and replacement are much less obvious. We plan to cover the insides of the closets with a mirror and with stickers of where we've been.
 |
The doors are constructed of four mitered aluminum extrusions with a narrow channel for each laminate door panel, inside and out.
 |
The paper honeycomb that fills the interior adds strength and stiffness without adding much weight. Whatever glued it on still held the laminate in place, but it was easy to peel away if I moved slowly and pried it a bit with a narrow spatula.
 |
This is what the inside of the closet door of a 25' 1971 Airstream Tradewind looks like.
 |
I traced around the original laminate panel onto the new sheet. A "basic metal" blade designed for slow, smooth cuts worked really well in our Bosch jigsaw. Tin snips let me cut the original 36" x 120" sheet into more manageable pieces, but the tin snips don't follow a line as easily and they can cause 1/8" chips at the cut edges.Once I had cut and drilled to match the original, I did a size check.
 |
I used yellow wood glue to replace whatever adhesive had held the original panel in place. Some years hence, it will allow for panel replacement more easily than a stronger adhesive might. The cardboard honeycomb is no longer available.
 |
We weighted the glued door for about an hour using a car battery on top of a board. Riveting it back in place in the closet was the final, simple step. Tomorrow, both doors will be blonde.
 |
Very nice job. Just a little note however, Yellow glue will not stick to laminate. It might briefly,but it will not hold the bond. Very few glues will stick to laminate.
ReplyDeleteThat's good to know, Frank. If we have trouble with the laminate bulging, we'll open up the doors again and try a different glue. The back of the laminate seemed to have some texture and I was hoping that would give us enough physical purchase for adhesion. The edge molding seems to play the biggest role in holding the laminate in place.
DeleteCool. Was wondering what the inside of the door looked like, now I know. I'll be doing the same to my '73 Overlander as I try and get rid of the 70's dark wood theme. I do agree with Frank, the yellow glue wont stick to the laminate. You could use some contact cement, that would be permanent or you could try something like construction adhesive and run some squiggly beads like you did the yellow glue.
ReplyDelete